Sunday, August 18, 2013

Replace transmission oil on a Toyota Starlet

C52 GT
4E-FTE Ep82 C52

C56 are a 97- onward box its the same with levins.

C56 Glanza
4E-FTE Ep92 C56

I believe I have the C56 transmission / gearbox in my Starlet 4EFE from 1997... 

Time to replace the Gear Oil. (Manual transmission) Bought the oil on Biltema. Fully synthetic

Bolt to add gear oil in.

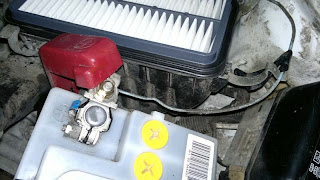
I removed the battery and airbox to get to the bolts of the gearbox.

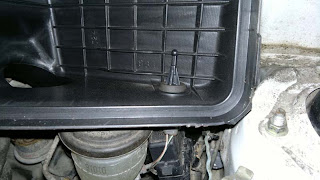
Airsensor of some sort. Inside airbox.

I also removed this stereo cable. I added a fuse. The previous owner had done this unsure connections...

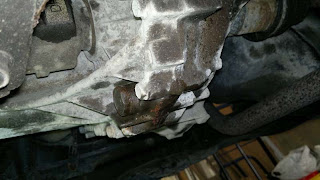
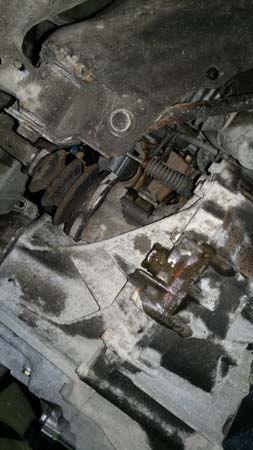
Here the bolt you must remove when draining the gearbox oil.

Another view of gearbox.

I also removed rust, driverside. Repainted with zinkspray and then original paint colour (Super White, Nr040).

New fuse in place.

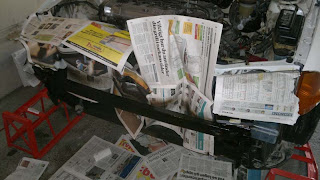
Cleaned and painted the front beam of the car. Rust protective products used.

Battery removed. Cleaned and I added Biltema Rostskyddsmedel för hålrum.

Pictures of Toyota Starlet inspection

More pictures..


Looking under the rear bumber. Wash and clean and the apply rust protective product.


Trygg Hansa crash impact sensor. Sitting under the driver chair.


Biltemas dyra solfilm. Fungerade fint på sidorutorna men inte bakrutan som är välvd. Går att sträcka med värmepistol lite grann, men jag lyckades inte få toningen bra.

Removing front and rear bumber (Toyota Starlet)


Inside the boot cover. Rear wiper mountinghole.


Removed the rear bumper, looking for rust and cleaned the paintjob.


Front bumber removed. Toyota Starlet (EP91)


Rust protective products applied inside the car

More images of inspection and rust preventive applying.. Pictures says 1000 more things than the written words.


Front left, driver side. Found some rust. Nothing seriously though.


Hardly any rust. GOOD!


Applying rust protecting products on the floor and other places.


Another set of pictures of removing interior of the Toyota Starlet


Another set of pictures of removing interior of the Toyota Starlet.


Right door, removed interior to inspect and anti rust treatment.

I found a Lock and money when removed the back seat.


Behind the rear backseat panel

Rear interior removed to that I could inspect and apply anti-rust products.


Inspecting inside of left door

This is what anti-rust treatment looks like. NO RUST inside of the door. Tuff Kote Dinol treatment by previos owner. After this pictures I sprayed the inside with "kallpressad linolja".

Perfect using the little mobile camera to inspect the rust situation inside of the door.


Beam inside the door.

Toyota Starlet Wiggle arm.